Process Batch Transfers
Batch picking allows a single picker to handle a batch of orders, reducing the number of times he must visit the same location. In Juniper, it means you can regroup several transfers into the same batch transfer, then process it, either via the barcode application or in the form view.
Create a Batch Transfer
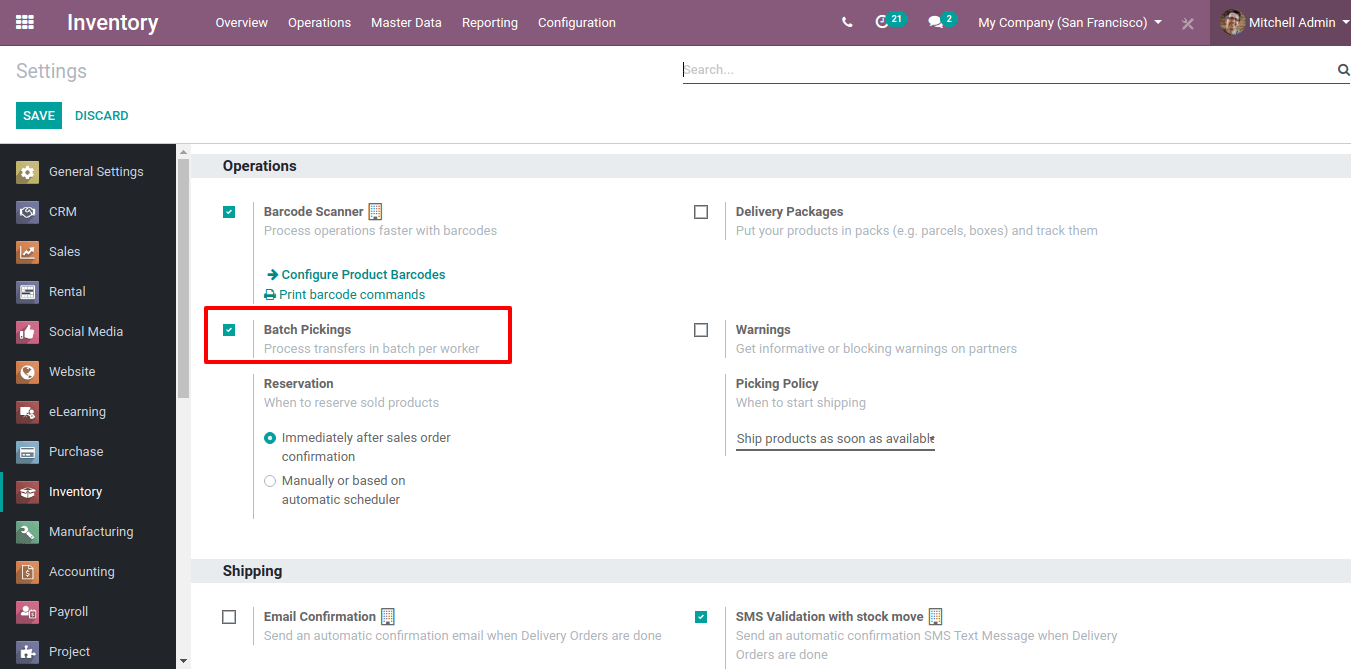
To activate the batch picking option, go to and enable Batch Pickings.
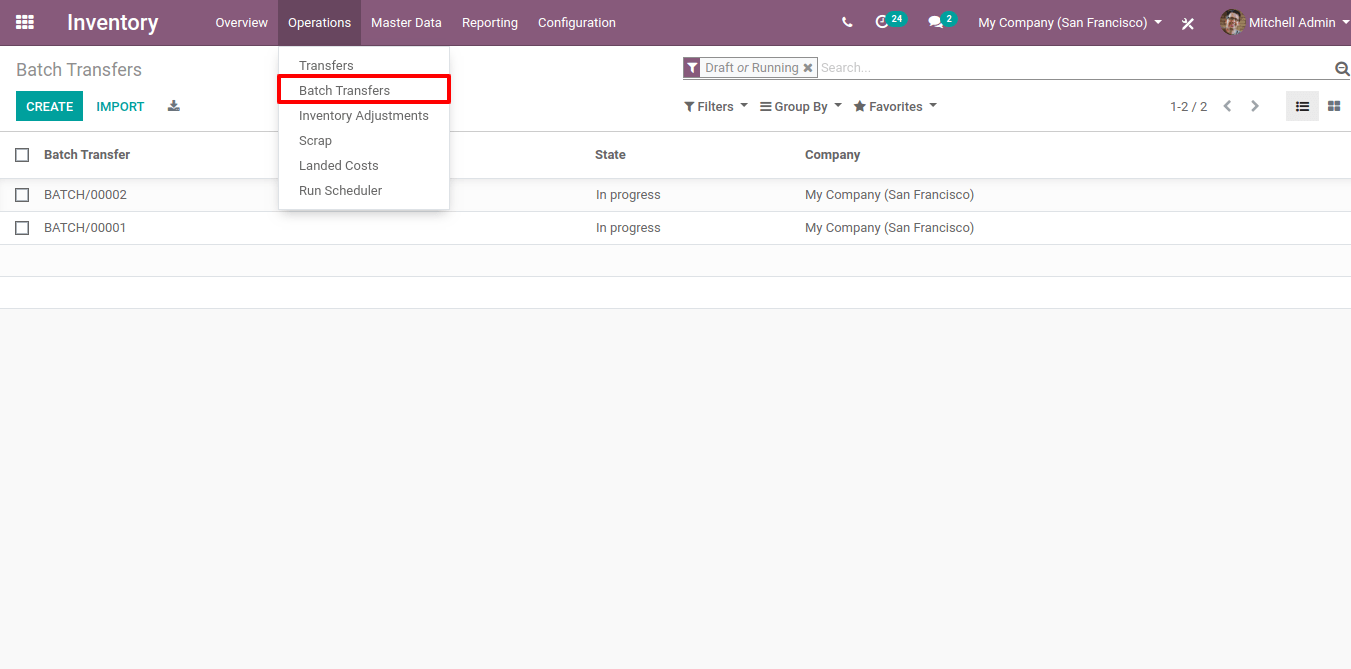
Then, go to and hit the create button.
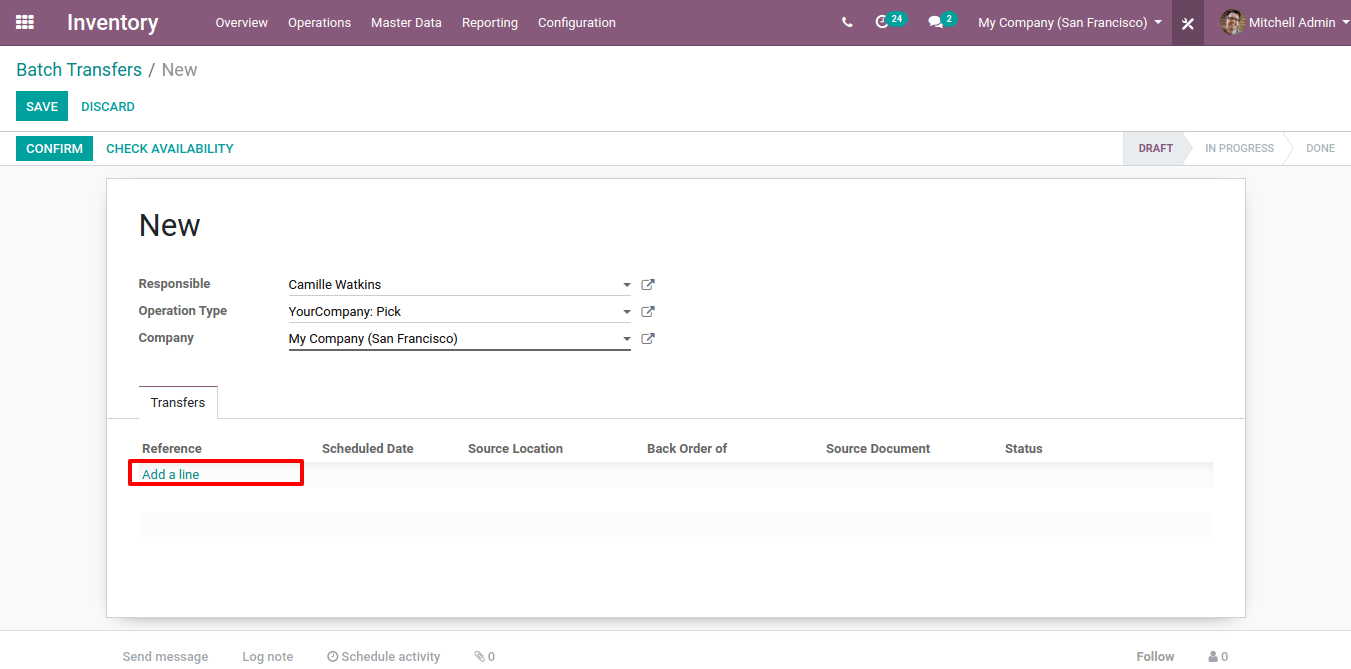
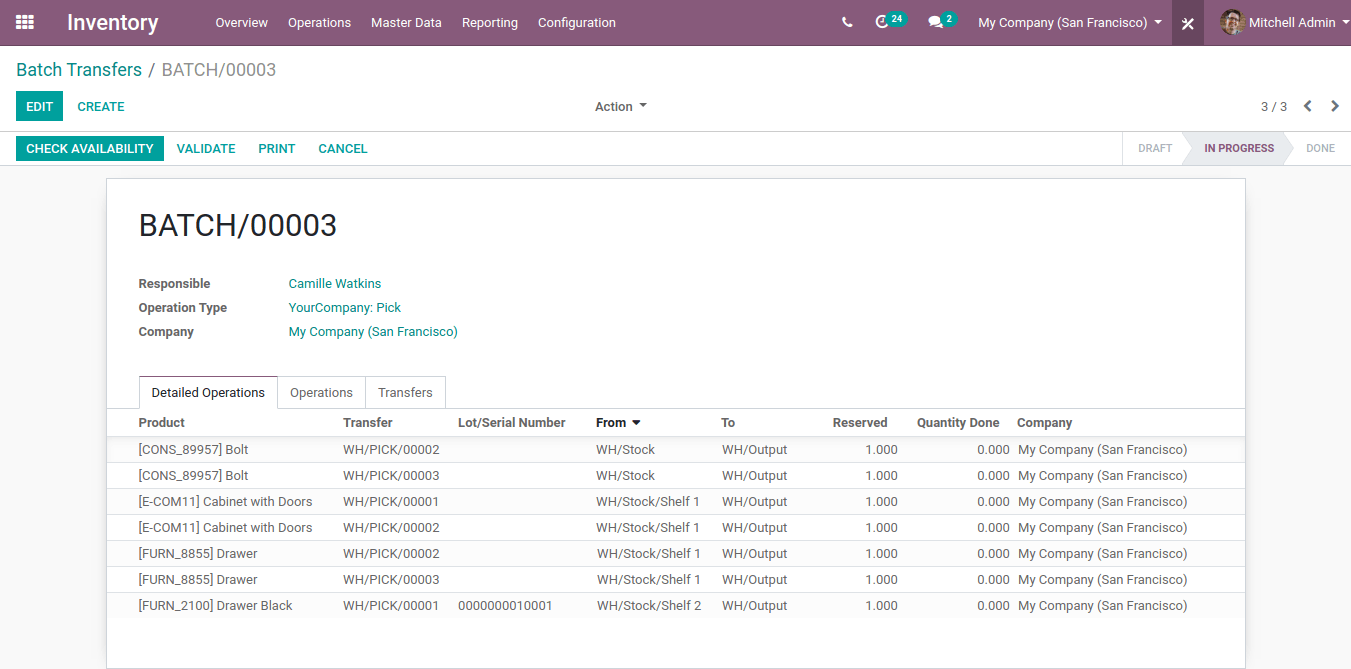
Now, determine the batch transfer responsible and the type of transfers you want to include in the batch. To add the types of transfers, click on Add a line.
In the example below, a filter was applied to only see the transfers that are in the Pick step. After that, the different transfers that needed to be included in the batch transfer were selected.
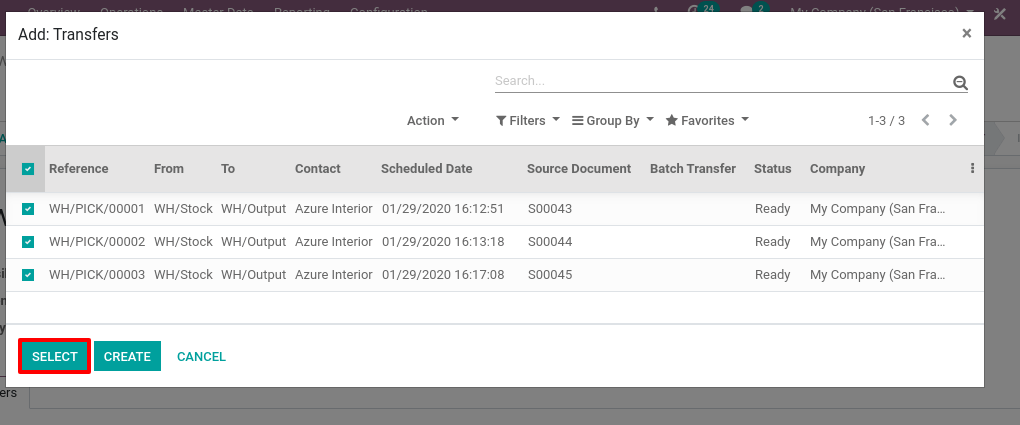
To see the products to pick for the different transfers, click on Select. If Multi-locations has been activated, the document also shows the locations they have been reserved from.
Create a Batch Transfer from the Transfers List View
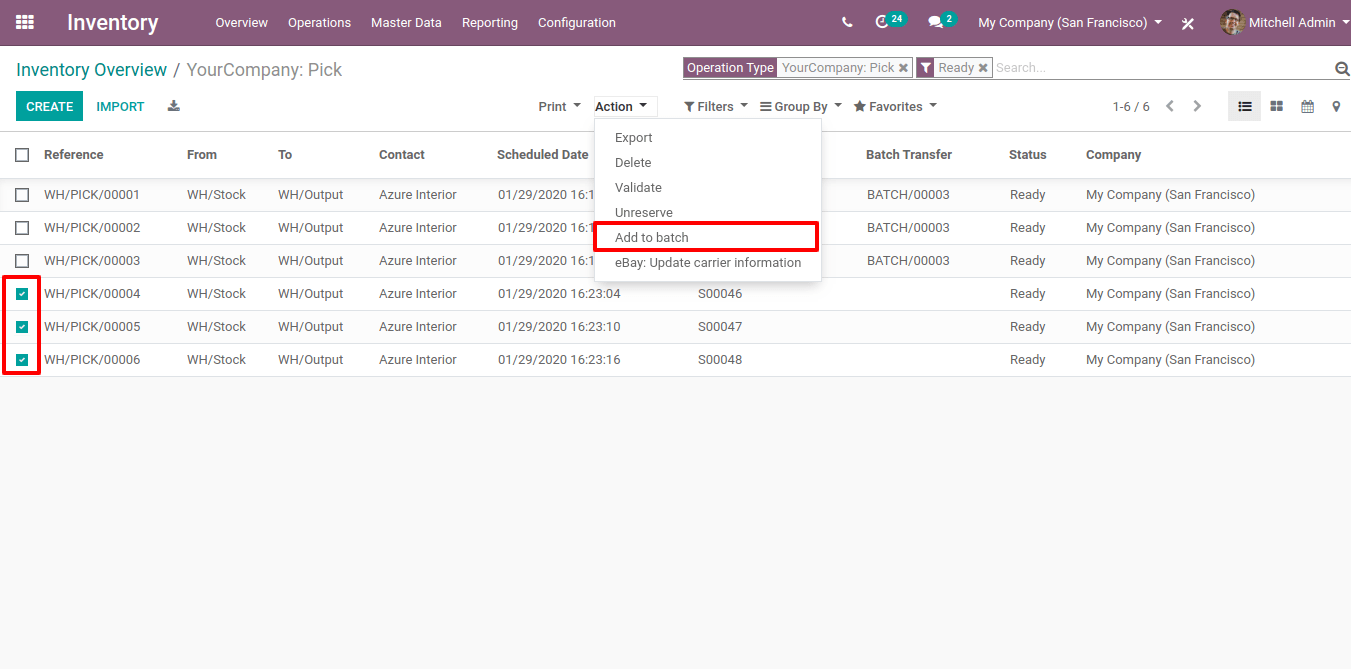
From the Transfers List View, select transfers that should be included in the Batch. Then, select Add to batch from the Action list.
Next, determine if you want to add the transfers to an existing draft batch transfer or create a new one.

Process a Batch Transfer
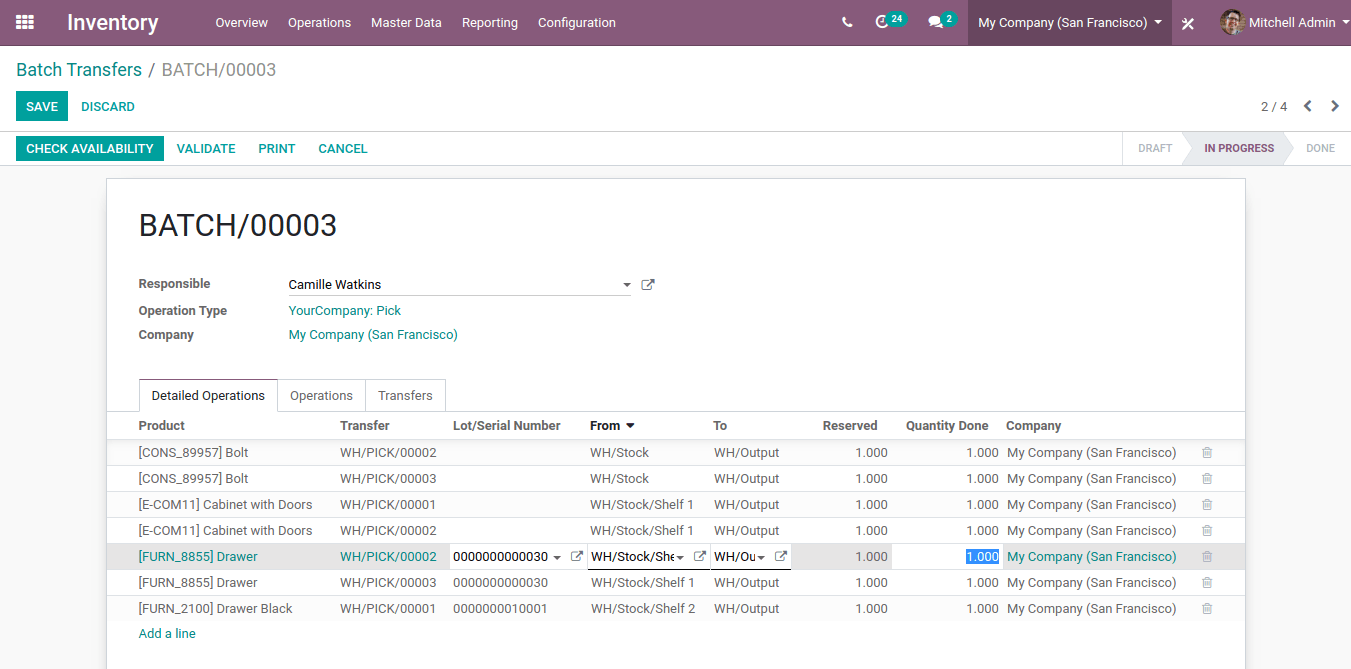
While gathering the products, you can edit the batch transfer and update the Quantity done for each product. Once everything has been picked, select Validate so the different transfers contained in the batch are validated too.
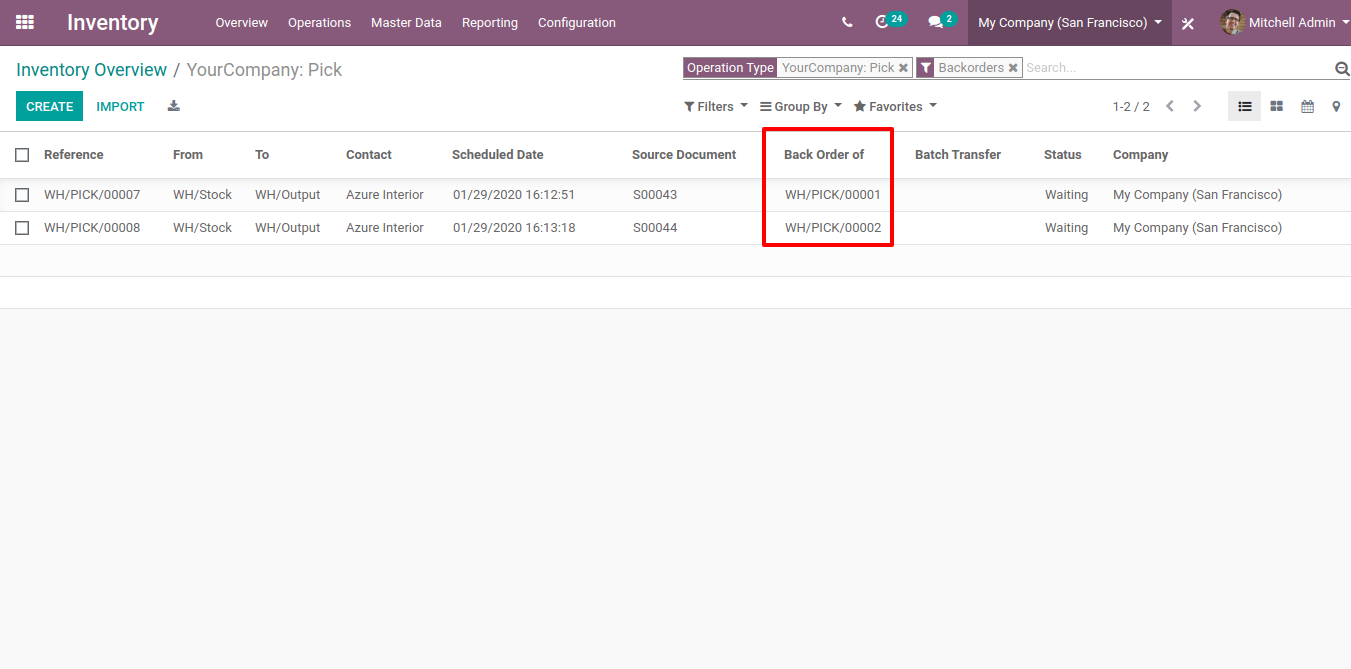
In case all the products cannot be picked, you can create backorders for each individual transfer which couldn’t be completely processed.

Process a Batch Transfer from the Barcode app
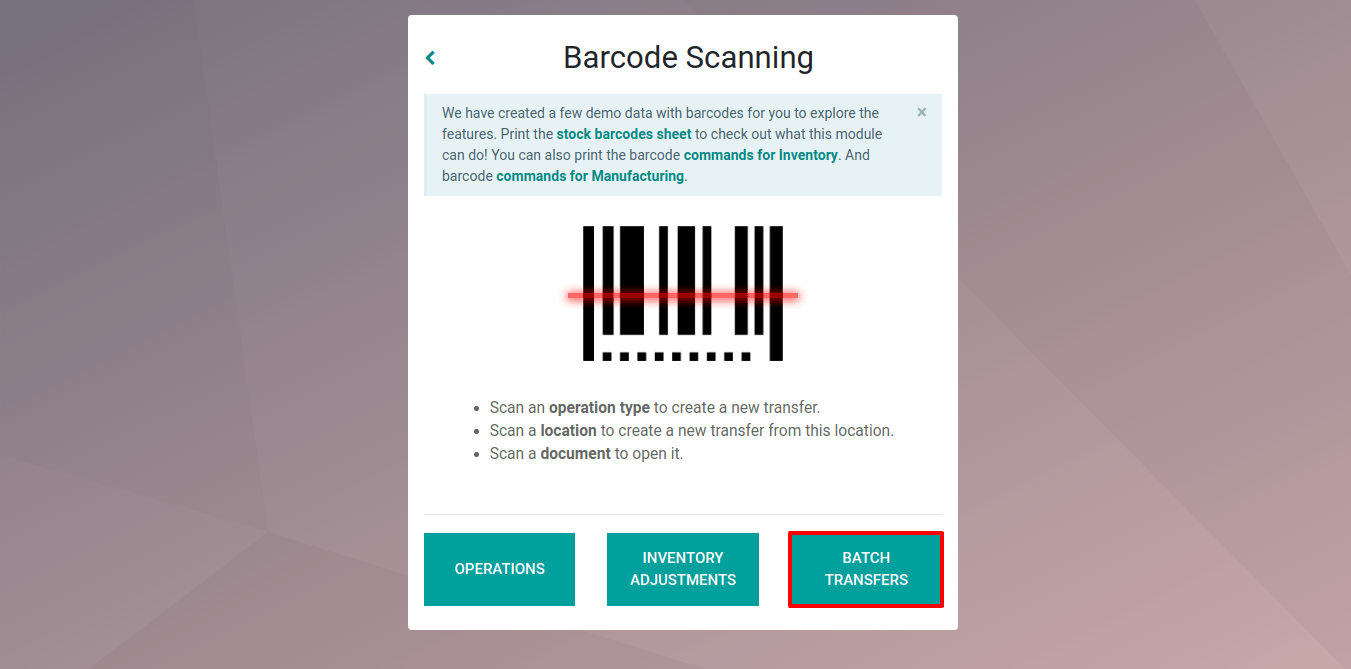
Enter the Barcode application, select the Batch Transfers menu.
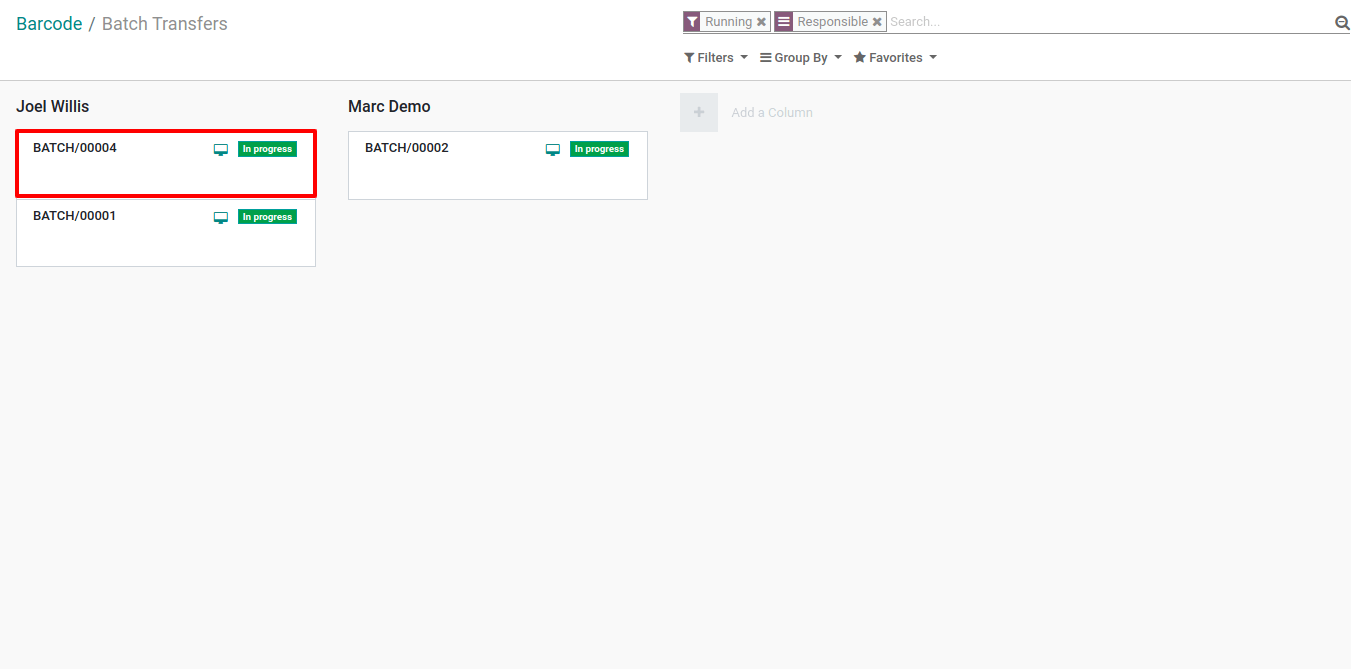
Then, you can enter the batch transfer on which you want to work. Batch transfers can easily be grouped per responsible if necessary.
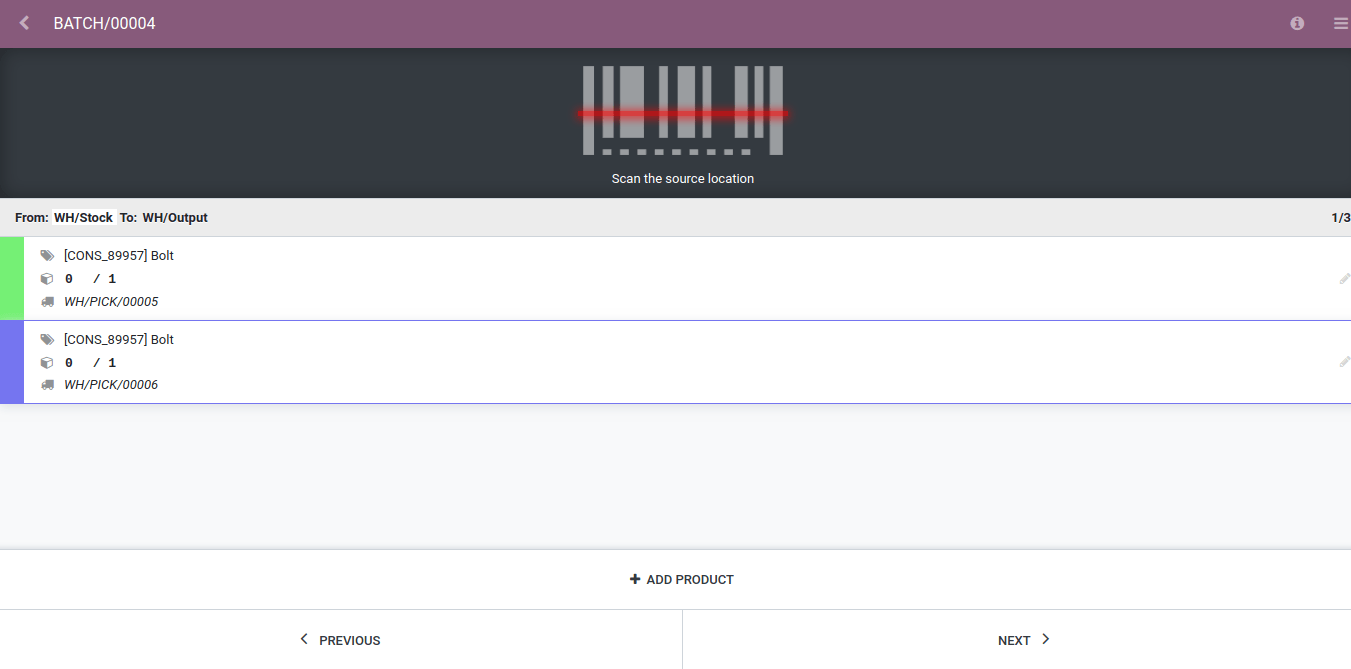
In the batch transfer, products are classified per location. The source document is visible on each line and a color-code helps differentiate them.
To see the products to pick from another location, click on the Next button.
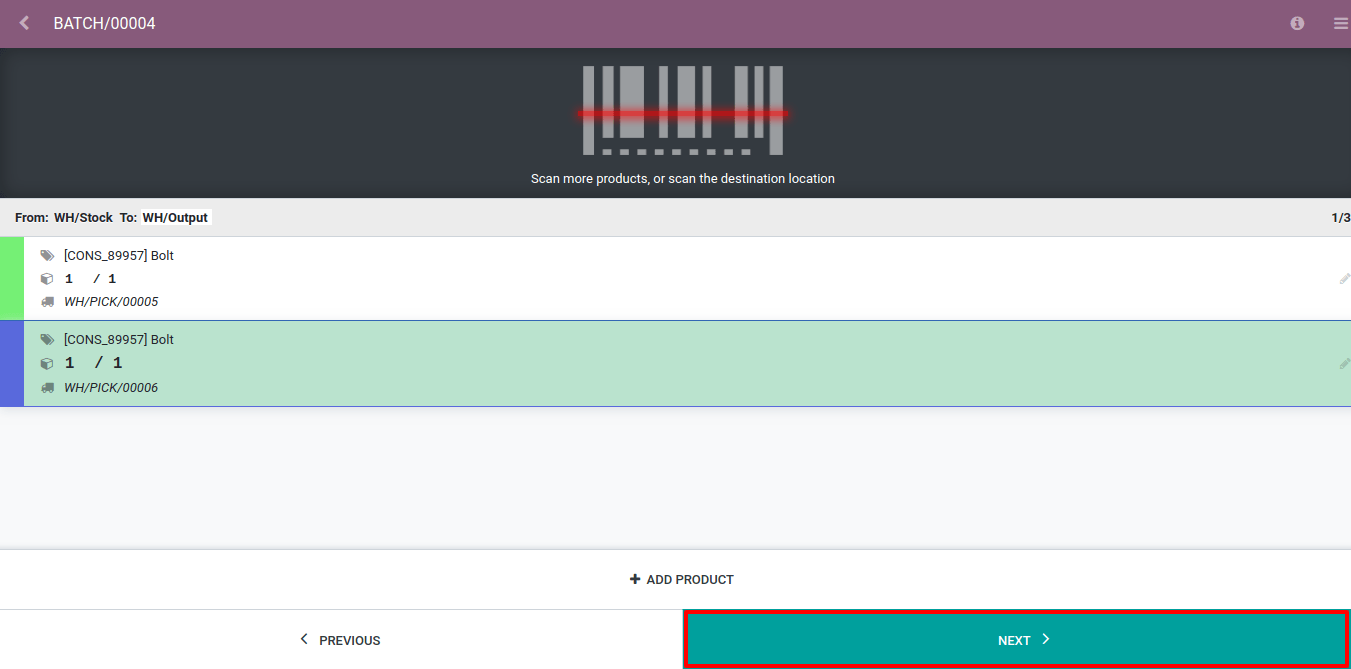
Once all the products have been picked, click on Validate (on the last page) to mark the batch transfer as done.