Mailing lists
Mailing lists are important for a number of reasons. Mailing lists can provide valuable leads for sales teams, communicate with focus groups participants, contact consumers directly for useful feedback, and more.
Create mailing lists
To create a mailing list in the Email Marketing application, navigate to . Clicking Create reveals a pop-up window.
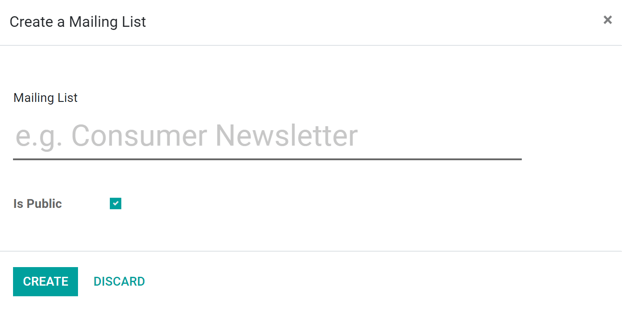
In the pop-up, name the mailing list and designate if the mailing list should be public with the Is Public checkbox.
The Is Public option allows the mailing list to be accessible by recipients in the unsubscription page, making it possible for them to update their subscription preferences.
After those options have been configured, click Create to create the mailing list, which Juniper automatically adds to the Mailing Lists page.
Add contacts to a mailing list
After a mailing list has been created (and added to the Mailing Lists dashboard), click on the desired mailing list to add contacts to the list.
Clicking the desired mailing list reveals a separate Mailing List Contacts page, in which contacts can be added to this specific list by clicking Create, and adding contact information directly on a separate contact detail form.
Or, while in the application, navigate to . Doing so reveals a separate page with all the mailing list contacts in the database.
From here, click Create, and add a contact with the same previous steps. Or, click the Import icon (to the right of the Create button) to import contacts into the database.
Once contacts are in the database, click into the desired contact’s detail form, and add the preferred mailing list in the Mailing List tab (at the bottom of the contact detail form), by clicking Add a line, and selecting the desired mailing list. Multiple mailing lists can be added to a single contact’s detail form.
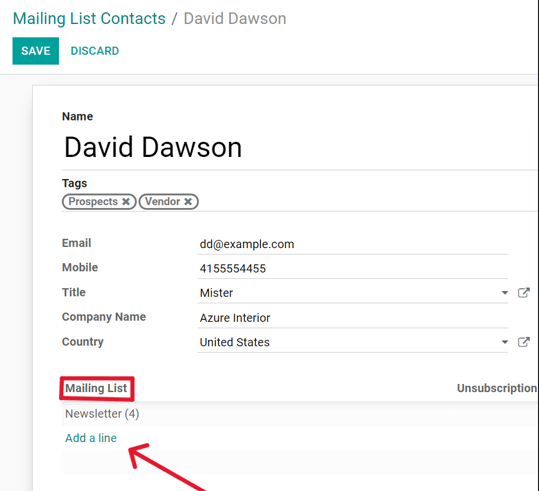
Create new mailing list from contact detail form
To create a mailing list from a contact detail form, click Add a line, and type in the name of a new mailing list in the empty field that appears. Then, select either Create or Create and Edit….
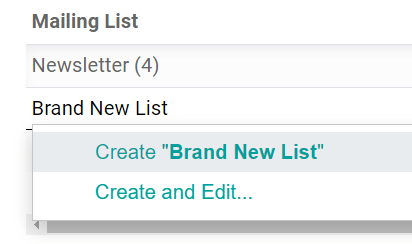
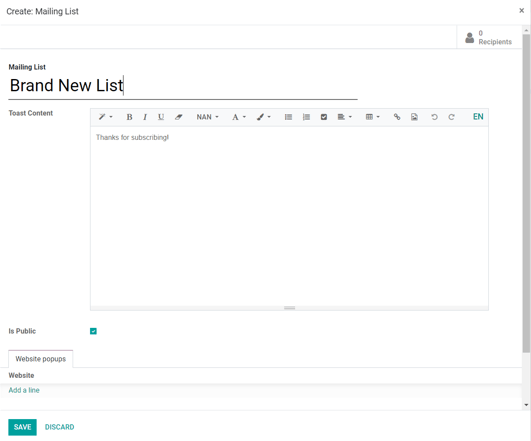
The Create option quickly creates the mailing list to the contact detail form, and the list can be configured at a later date. The Create and Edit… option creates the mailing list, and reveals a pop-up window, in which the new mailing list can be configured right away.
