Worldline
Connecting a payment terminal allows you to offer a fluid payment flow to your customers and ease the work of your cashiers.
Note
Please note that Worldline is currently only available in the Benelux.
Configuration
Connect an IoT Box
Connecting a Worldline Payment Terminal to Juniper is a feature that requires an IoT Box. For more information on how to connect one to your database, please refer to the IoT documentation.
Configure the protocol
From your terminal, click on . Enter the technician password “1235789” and click on . Then, click on . Click on OK thrice on the subsequent screens (CTEP ticket ECR, ECR ticket width, and Character set). Finally, press Stop three times; the terminal automatically restarts.
Set the IP address
From your terminal, click on . Enter the technician password “1235789” and click on . Then, click on (TCP physical configuration screen) (TCP Configuration client screen).
Finally, set up the hostname and port number.
Hostname
Example
10.30.19.4:8069.Note
Your IoT box’s IP address is available in your IoT Box application’s database.
Port number
On the Port number screen, enter 9001 (or 9050 for Windows) and click on (ECR protocol SSL no) . Click on Stop three times; the terminal automatically restarts.
Configure the payment method
From the Point of Sale application, go to and activate the Worldline payment terminal.

Then, go to and create a new payment method for Worldline. Select the payment terminal Worldline and your payment terminal device on your Payment Method form.
Tip
Technician password:
1235789To reach Wordline’s technical assistance, call
02 727 61 11and choose “merchant”. Your call is automatically transferred to the desired service.Configure the cashier terminal if you have both a customer and a cashier terminal.
To avoid blocking the terminal, check the initial configuration beforehand.
Set a fixed IP to your IoT Box’s router to prevent losing the connexion.
Pay with a payment terminal
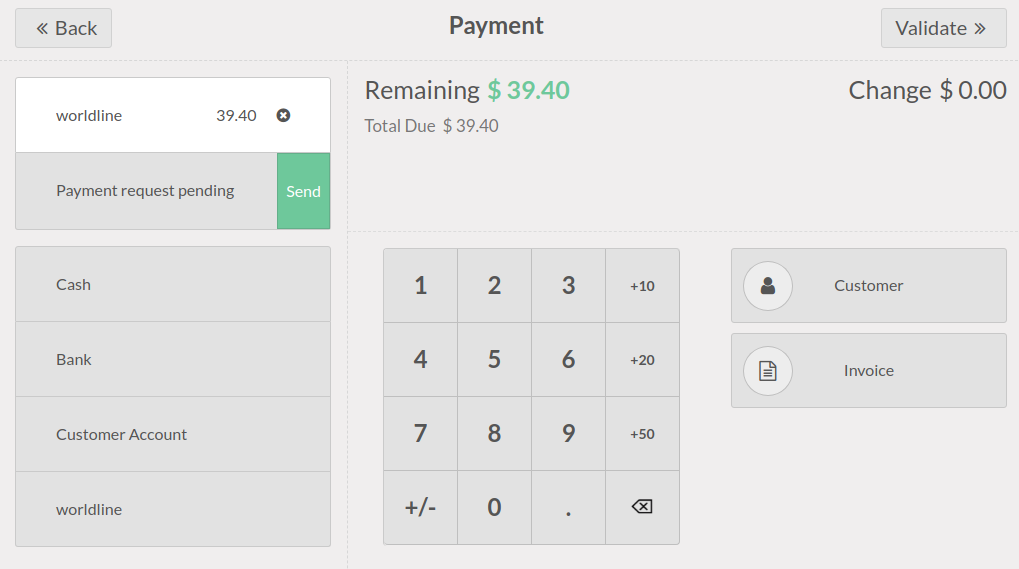
When processing a payment, select Worldline as payment method. Check the amount and click on Send. Once the payment is successful, the status changes to Payment Successful.
Once your payment is processed, the type of card used and the transaction ID appear on the payment record.

Note
In case of connexion issues between Juniper and the payment terminal, force the payment by clicking on Force Done, which allows you to validate the order. This option is only available after receiving an error message informing you that the connection failed.
To cancel the payment request, click on cancel.

