Allow customers to close their tickets
Allowing customers to close their own tickets gives them autonomy and minimizes misunderstandings around when an issue is considered solved or not. This results in operational capacity for support teams, and higher satisfaction for the customer.
Enable ticket closing
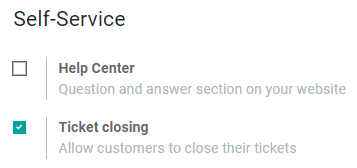
Start by navigating to and choose the appropriate team. Then click Edit and enable Ticket closing by checking the field box.

To designate which stage the ticket migrates to once it is closed, navigate to the ticket pipeline by going to and clicking Tickets on the team’s card.
There are two options: create a new Kanban stage or work with an existing one. For both scenarios, click the Settings (gear) icon next to the stage name, select Edit Stage, and enable Closing Stage. After checking the field box, click Save to finish.
Note
If a closing stage is not specified, by default, the ticket is moved to the last stage in the kanban. If more than one stage is set as a closing stage, the ticket is placed in the first closing stage column.
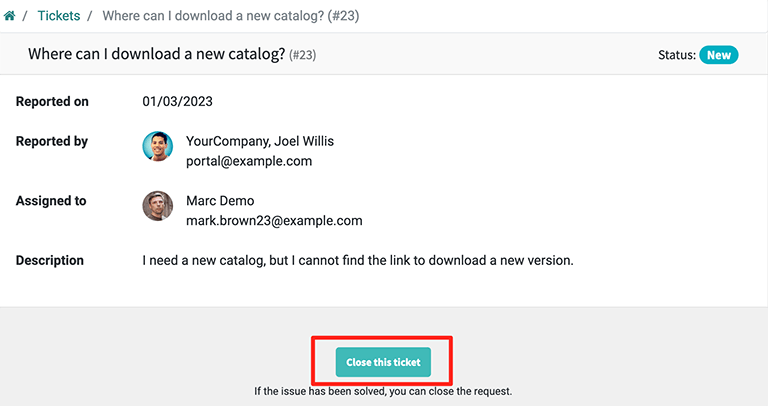
With the ticket closing settings now complete, customers can now view the option to Close this ticket when they log into their portal.

Get reports on tickets closed by customers
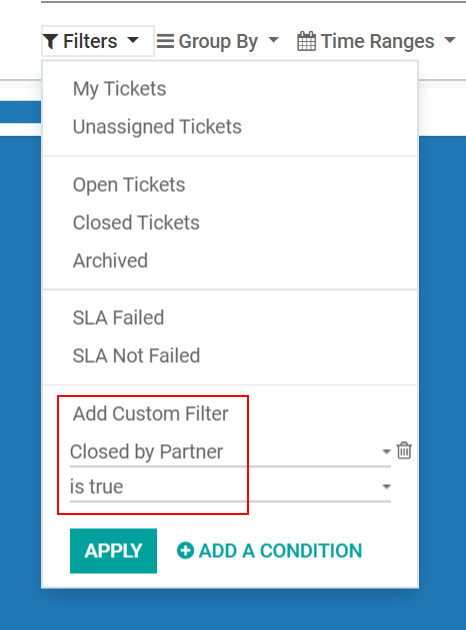
To analyze the tickets that have been closed by customers, go to . Then, click on the Filters menu and choose Add Custom filter. Next, set the custom filter parameters to Closed by partner and is true. Finally, click Apply.
