Pages
In this chapter, you will learn how to declare static pages.
Default pages
In Juniper, websites come with a few default static pages (Home, Contact us, 404, …). They are built the following way.
<template id="website.homepage" name="Homepage">
    <t t-call="website.layout">

        <!-- Variables -->
        <t t-set="additional_title" t-value="'Home'" />

        <div id="wrap" class="oe_structure oe_empty">

            <!-- Content -->

        </div>

    </t>
</template>
Define the meta title.
<t t-set="additional_title" t-value="'...'"/>
Define the meta description.
<t t-set="meta_description" t-value="'...'"/>
Add a CSS class to the page.
<t t-set="pageName" t-value="'...'"/>
Hide the header.
<t t-set="no_header" t-value="true"/>
Hide the footer.
<t t-set="no_footer" t-value="true"/>
If needed, deactivate default pages.
/website_airproof/data/pages/home.xml¶<record id="website.homepage" model="ir.ui.view">
<field name="active" eval="False"/>
</record>
/website_airproof/data/pages/contactus.xml¶<record id="website.contactus" model="ir.ui.view">
<field name="active" eval="False"/>
</record>
Alternatively, replace the default content of these pages using XPath.
/website_airproof/data/pages/404.xml¶<template id="404" inherit_id="http_routing.404">
<xpath expr="//*[@id='wrap']" position="replace">
<t t-set="additional_title" t-value="'404 - Not found'"/>
<div id="wrap" class="oe_structure">
<!-- Content -->
</div>
</xpath>
</template>
Theme pages
You can add as many pages as you want to your website. Instead of defining a <template>, create a
page object.
Declaration
/website_airproof/data/pages/about_us.xml¶<record id="page_about_us" model="website.page">
<field name="name">About us</field>
<field name="is_published" eval="True"/>
<field name="key">website_airproof.page_about_us</field>
<field name="url">/about-us</field>
<field name="type">qweb</field>
<field name="arch" type="xml">
<t t-name="website_airproof.page_about_us">
<t t-call="website.layout">
<div id="wrap" class="oe_structure">
<!-- Content -->
</div>
</t>
</t>
</field>
</record>
Field |
Description |
|---|---|
name |
Page name. |
is_published |
Define if the page is published (visible to visitors). |
key |
View key (must be unique) |
url |
URL where the page is reachable. |
type |
View type |
arch |
View architecture |
With <t t-call="website.layout"> you use the Juniper default page layout with your code.
Header overlay
Make the header background transparent and stand on top of the page content.
<field name="header_overlay" eval="True"/>

Media
Images
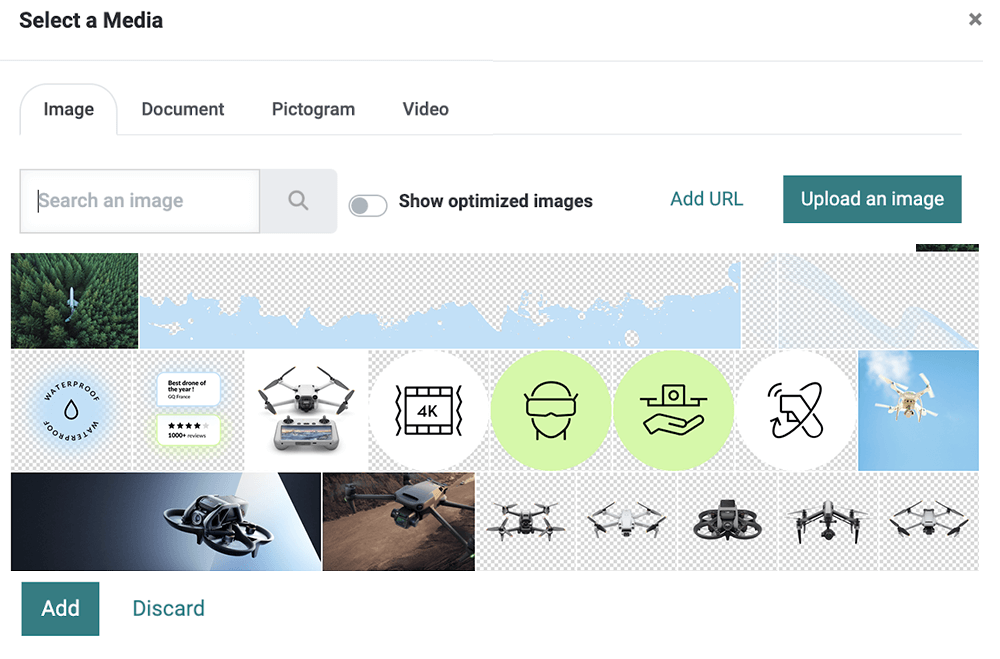
You can record images in the database and use them later in your design/code. They will also be available for the end user through the media dialog.

The Website Builder supports the following image file formats: JPG, GIF, PNG, and SVG.
Declaration
/website_airproof/data/images.xml¶<record id="img_about_01" model="ir.attachment">
<field name="name">About Image 01</field>
<field name="datas" type="base64" file="website_airproof/static/src/img/content/img_about_01.jpg"/>
<field name="res_model">ir.ui.view</field>
<field name="public" eval="True"/>
</record>
Field |
Description |
|---|---|
name |
Image name |
datas |
Path to the image file |
res_model |
Name of the wizard model |
Use it as a background image.
<section style="background-image: url('/web/image/website_airproof.img_about_01');">
Use it as a regular image.
<img src="/web/image/website_airproof.img_about_01" alt=""/>
Use as a regular image with a color filter.
<img src="/web/image/website.s_media_list_default_image_1"
    class="img img-fluid mx-auto" alt=""
    data-gl-filter="custom"
    data-filter-options="{'filterColor': 'rgba(0, 0, 0, 0.5)'}"/>
Tip
The image size greatly influences the user experience, search engine optimization, and overall website performance. So, be sure to size your images correctly.
Videos
Add videos as background.
<section class="o_background_video" data-bg-video-src="...">
    <!-- Content -->
</section>
Attribute |
Description |
|---|---|
data-bg-video-src |
Video URL. |
Add videos as content.
<div class="media_iframe_video" data-oe-expression="...">
<div class="css_editable_mode_display"> </div>
<div class="media_iframe_video_size" contenteditable="false"> </div>
<iframe src="..."
frameborder="0"
contenteditable="false"
allowfullscreen="allowfullscreen"/>
</div>
Attribute |
Description |
|---|---|
data-oe-expression |
Video URL. |
src |
Video URL. |
Icons
By default, the Font Awesome icons library is included in the Website Builder. You can place icons
anywhere using the CSS Prefix fa and the icon’s name. Font Awesome is designed to be used with
inline elements. You can use <i> tag for brevity, but using a <span> is more semantically
correct.
<span class="fa fa-picture-o"/>
See also
Enable the Website Builder style options.
<span class="fa fa-2x fa-picture-o rounded-circle"/>
Increase the icon size (fa-2x, fa-3x, fa-4x, or fa-5x classes).
<span class="fa fa-2x fa-picture-o"/>