Translations
With Juniper, you can translate your website into different languages.
In this chapter, you will learn how to:
Translate the content of a module.
Import and export translations.
Integrate translations to a module.
Frontend
To translate your pages with the Website Builder, go to your website and click on the language selector to switch to it. If your website was never translated to the target language, click Add a language…, select it in the pop-up window, and click Add.
Click Translate to start translating. Depending on the language, some text is automatically translated and highlighted in green, while everything that should be translated manually is highlighted in yellow.

Backend
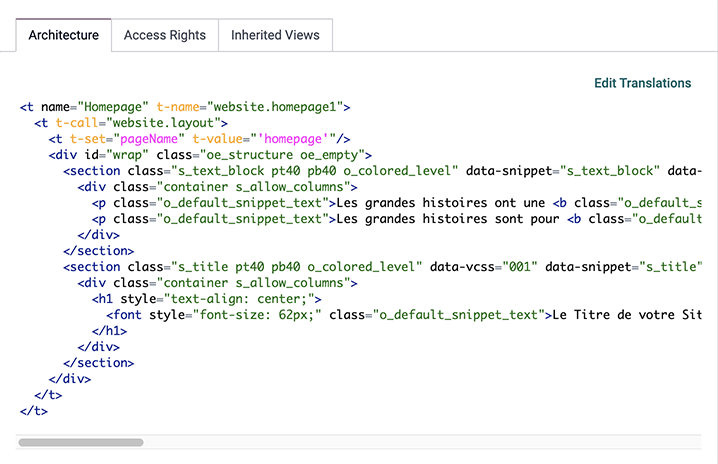
Translating pages directly from the backend allows you to translate several languages at the same time. To do so, go to , search for the name of the page you want to translate, and click the Edit Translations button.

Export
Once you are done translating, you need to export the translations to integrate them into your module. To export everything at once, open your database, activate developer mode, and go to . Select the Language you translated, PO File under File Format, and website_airproof as the Apps To Export.
Download the file and move it to the i18n folder. If needed, you can manually edit the
.po file afterward.
PO file
You can translate directly by editing a .po file or creating the file yourself. Check out
the translating modules documentation to write your translations.
/website_coconuts/i18n/fr_BE.po¶#. module: website_airproof
#: model_terms:ir.ui.view,arch_db:website_airproof.s_custom_snippet
msgid "..."
msgstr "..."
Import
To import your translation files into Juniper, go to and upload them.