Chapter 3: A New Application
The purpose of this chapter is to lay the foundation for the creation of a completely new Juniper module. We will start from scratch with the minimum needed to have our module recognized by Juniper. In the upcoming chapters, we will progressively add features to build a realistic business case.
The Real Estate Advertisement module
Our new module will cover a business area which is very specific and therefore not included in the standard set of modules: real estate. It is worth noting that before developing a new module, it is good practice to verify that Juniper doesn’t already provide a way to answer the specific business case.
Here is an overview of the main list view containing some advertisements:

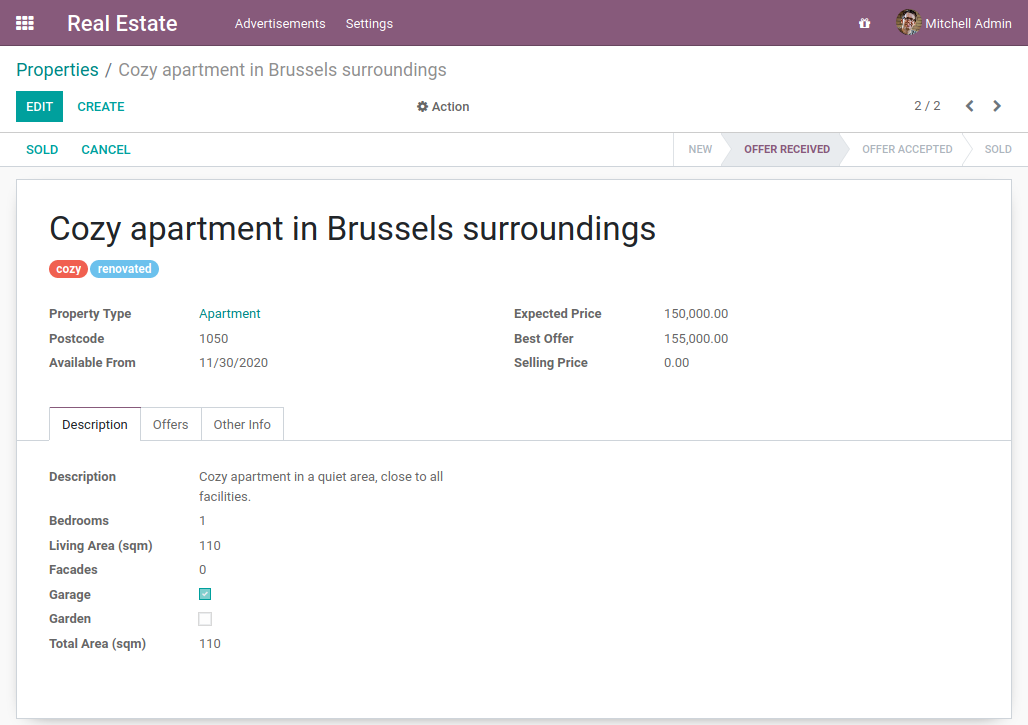
The top area of the form view summarizes important information for the property, such as the name, the property type, the postcode and so on. The first tab contains information describing the property: bedrooms, living area, garage, garden…

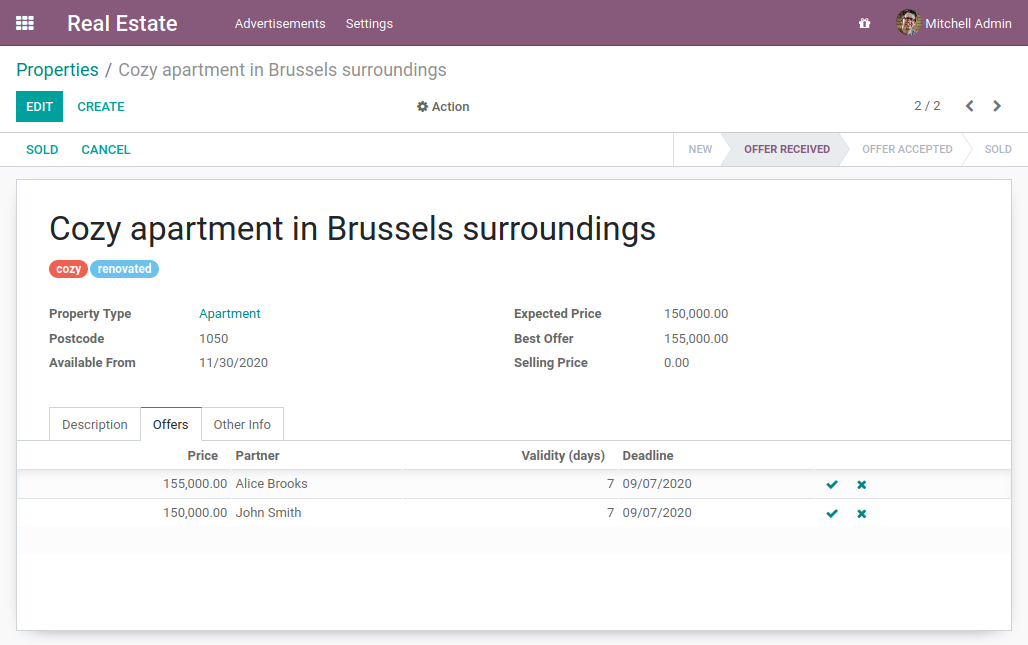
The second tab lists the offers for the property. We can see here that potential buyers can make offers above or below the expected selling price. It is up to the seller to accept an offer.

Here is a quick video showing the workflow of the module.
Hopefully, this video will be recorded soon :-)
Prepare the addon directory
Reference: the documentation related to this topic can be found in manifest.
Note
Goal: the goal of this section is to have Juniper recognize our new module, which will be an empty shell for now. It will be listed in the Apps:

The first step of module creation is to create its directory. In the technical-training-sandbox
directory, add a new directory estate.
A module must contain at least 2 files: the __manifest__.py file and a __init__.py file.
The __init__.py file can remain empty for now and we’ll come back to it in the next chapter.
On the other hand, the __manifest__.py file must describe our module and cannot remain empty.
Its only required field is the name, but it usually contains much more information.
Take a look at the
CRM file
as an example. In addition to providing the description of the module (name, category,
summary, website…), it lists its dependencies (depends). A dependency means that the
Juniper framework will ensure that these modules are installed before our module is installed. Moreover, if
one of these dependencies is uninstalled, then our module and any other that depends on it will also
be uninstalled. Think about your favorite Linux distribution package manager
(apt, dnf, pacman…): Juniper works in the same way.
Exercise
Create the required addon files.
Create the following folders and files:
/home/$USER/src/technical-training-sandbox/estate/__init__.py/home/$USER/src/technical-training-sandbox/estate/__manifest__.py
The __manifest__.py file should only define the name and the dependencies of our modules.
The only necessary framework module for now is base.
Restart the Juniper server and go to Apps. Click on Update Apps List, search for estate and…
tadaaa, your module appears! Did it not appear? Maybe try removing the default ‘Apps’ filter ;-)
Warning
Remember to enable the developer mode as explained in the previous chapter. You won’t see the Update Apps List button otherwise.
Exercise
Make your module an ‘App’.
Add the appropriate key to your __manifest__.py so that the module appears when the ‘Apps’
filter is on.
You can even install the module! But obviously it’s an empty shell, so no menu will appear.
All good? If yes, then let’s create our first model!